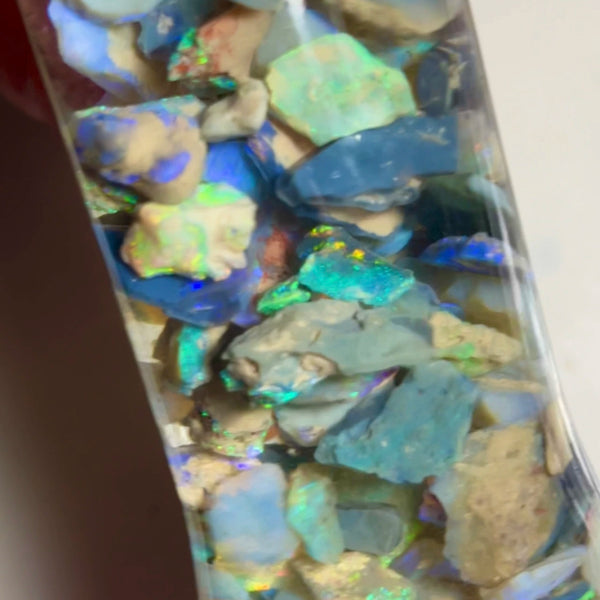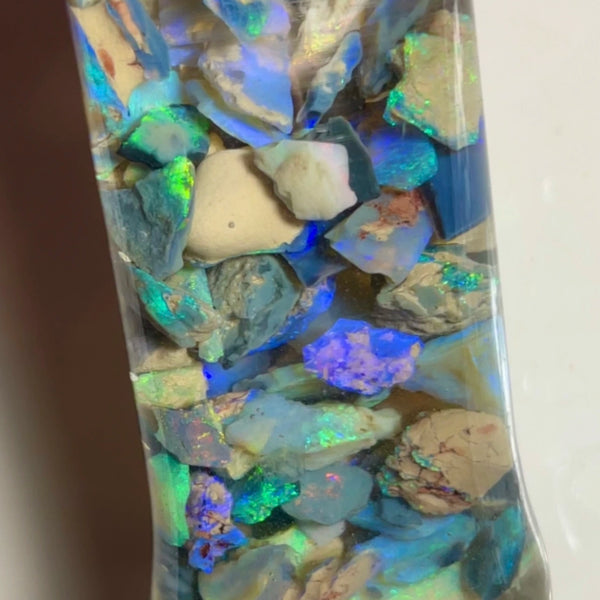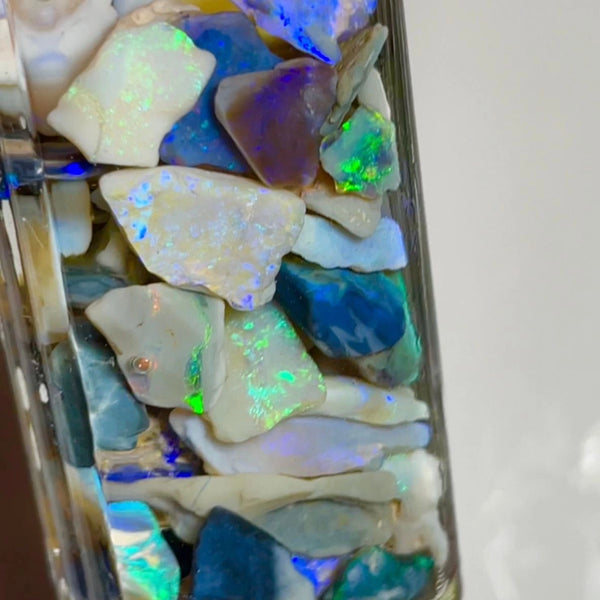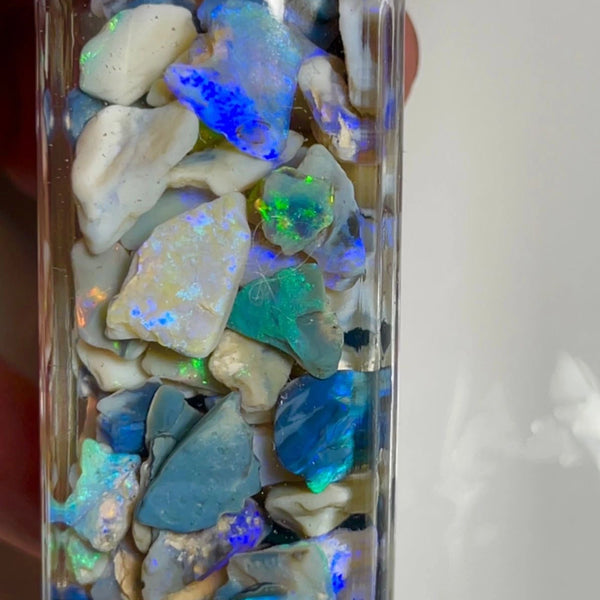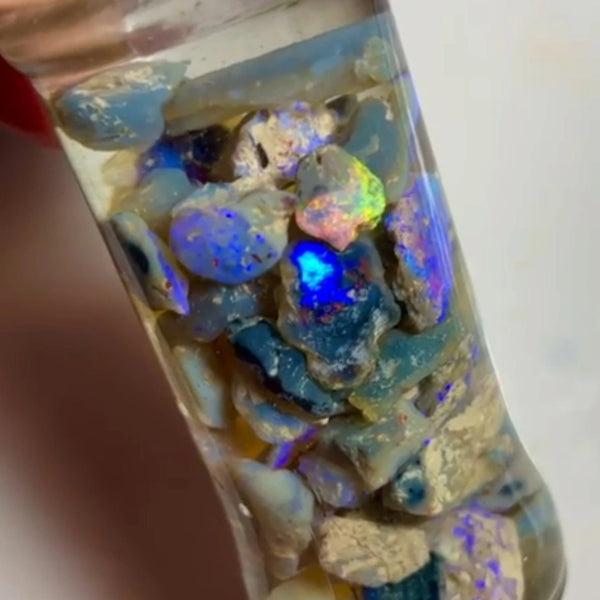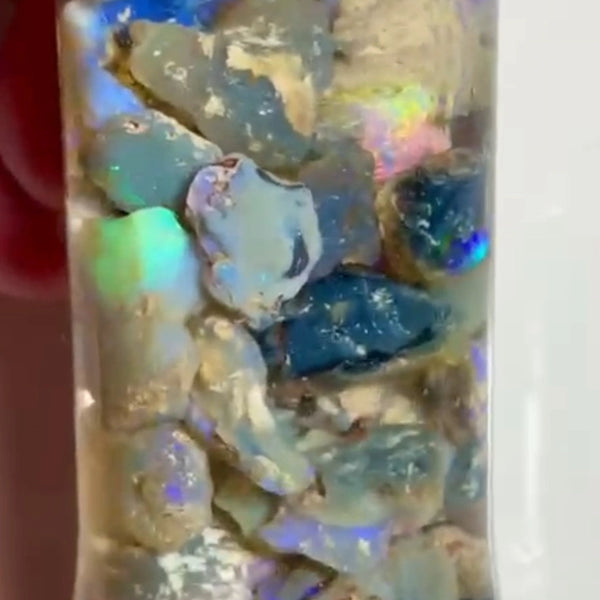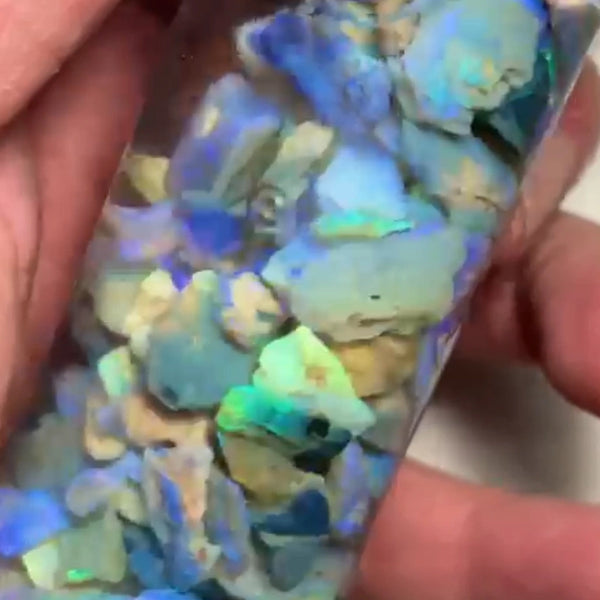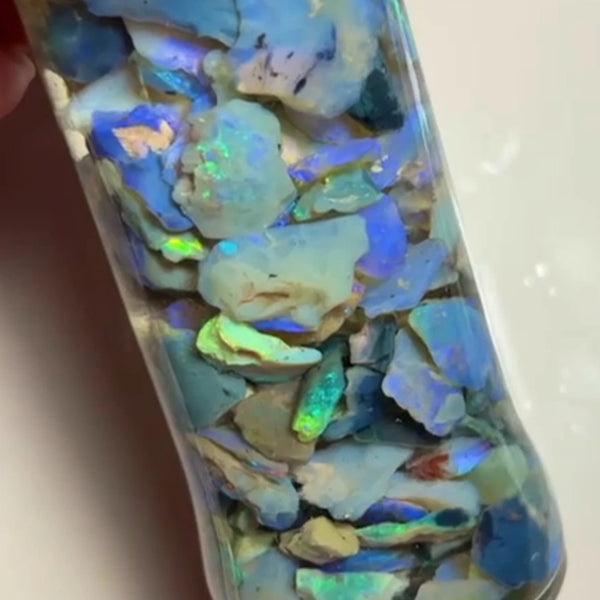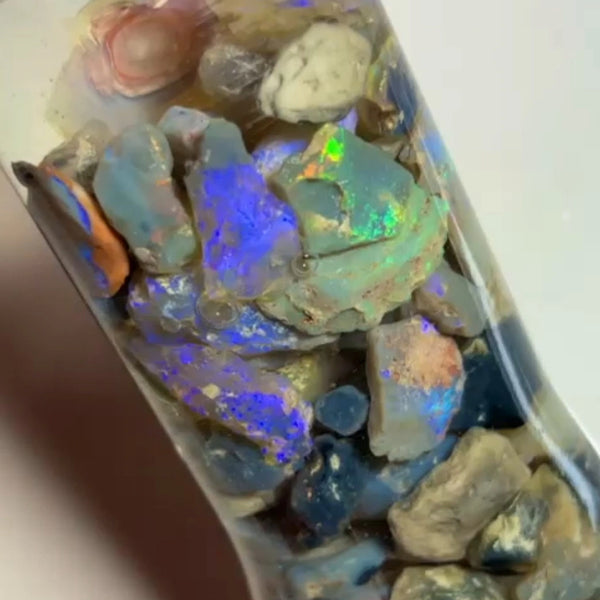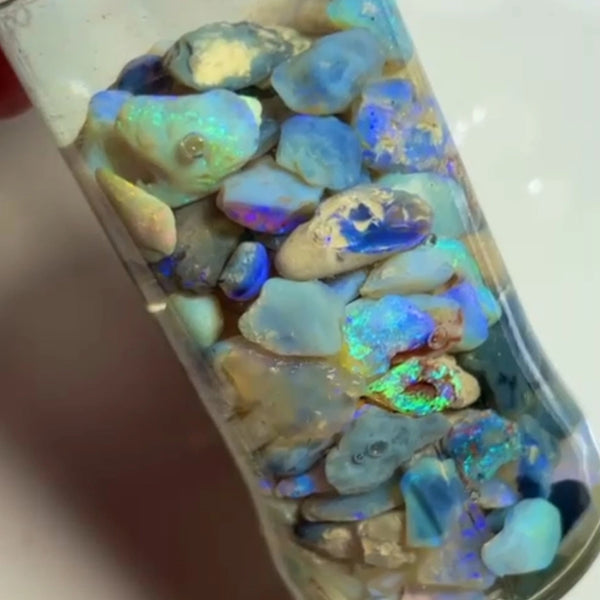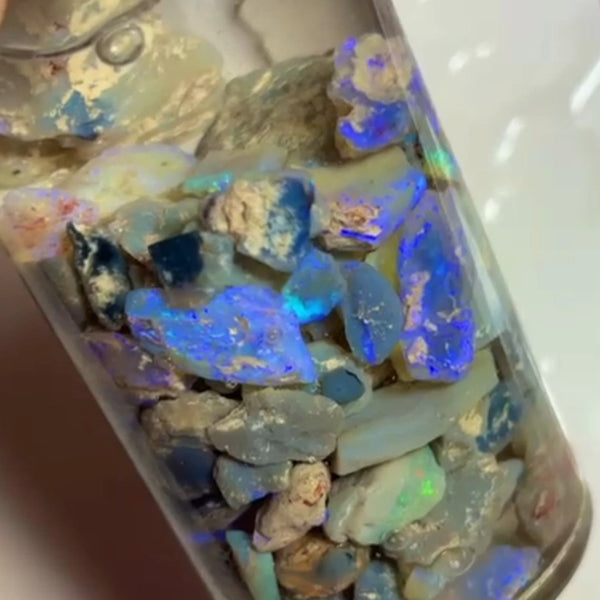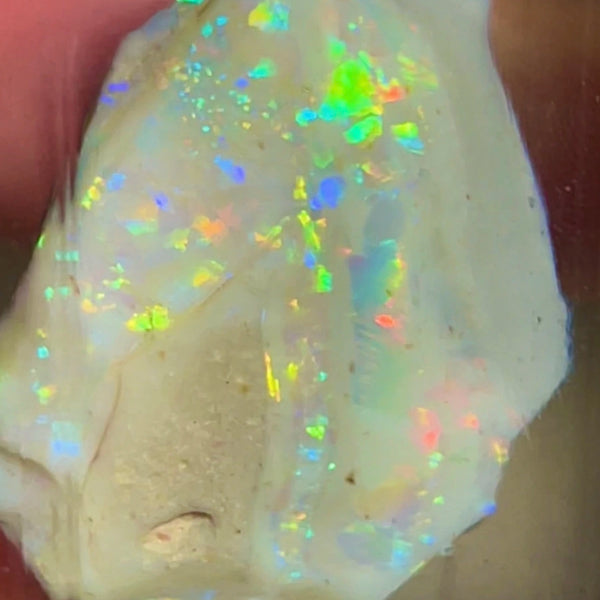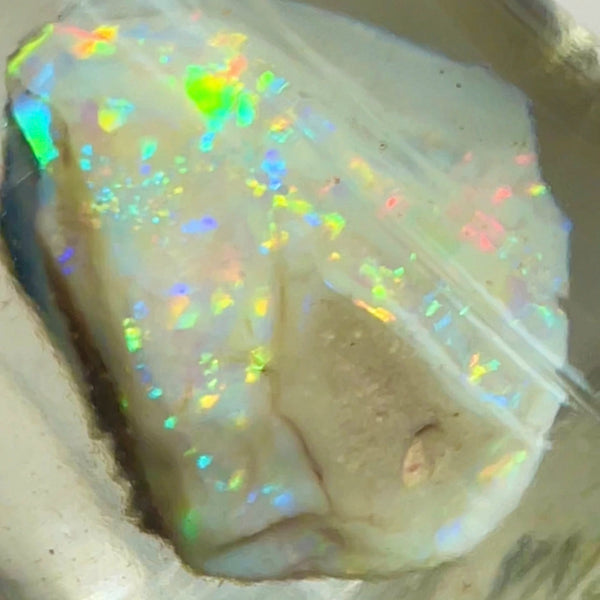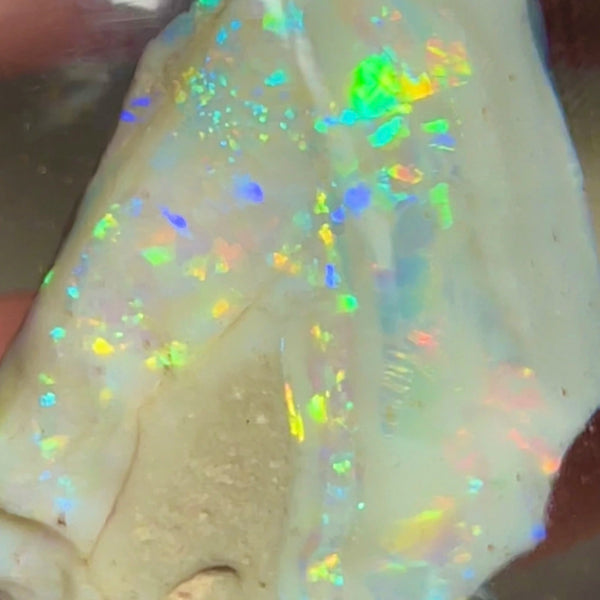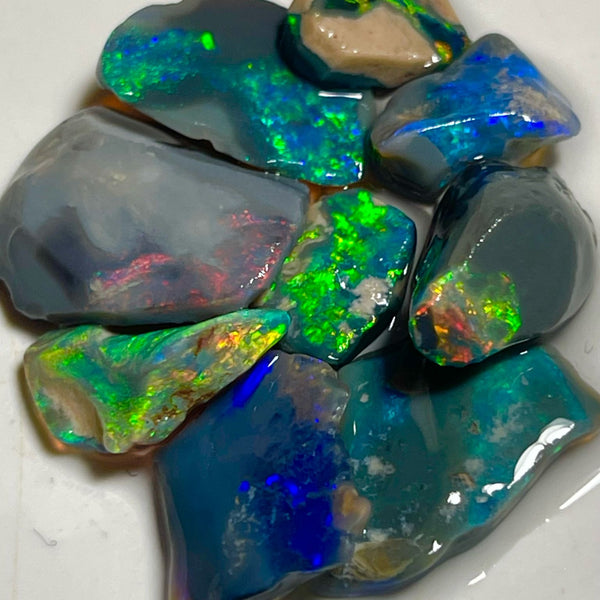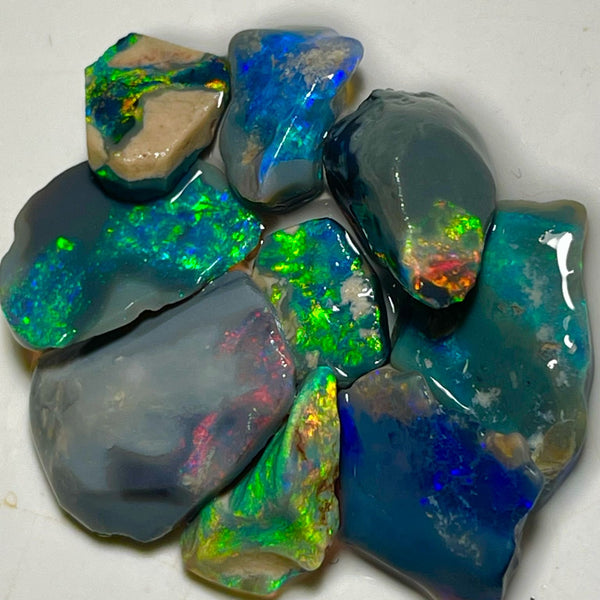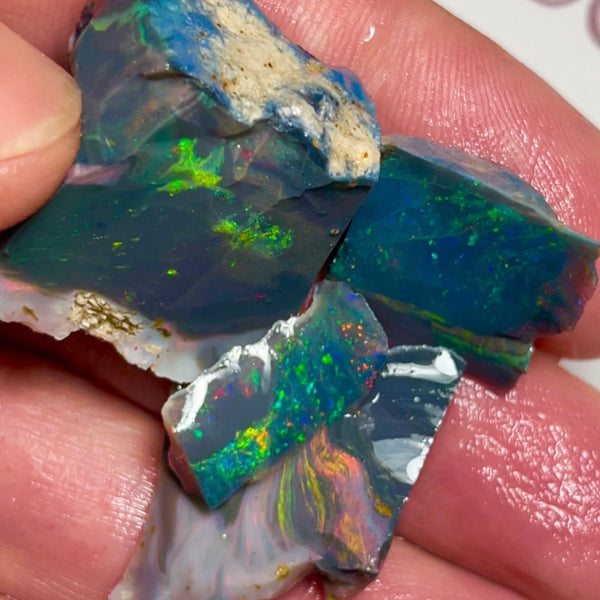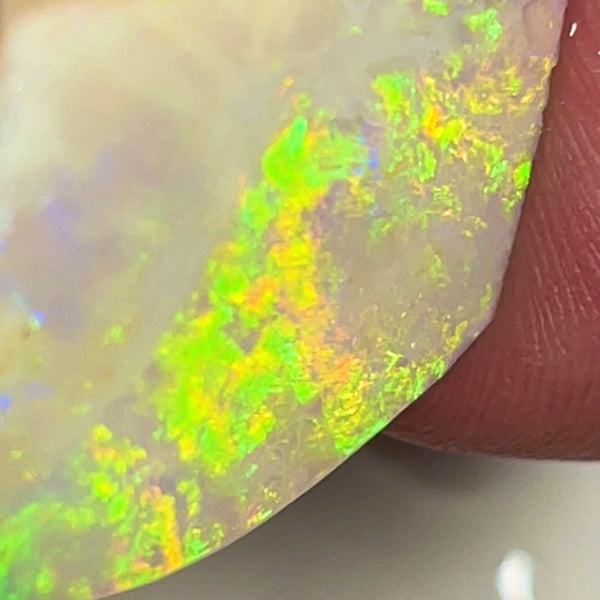
Opals are one of the most beautiful gemstones in the world, known for their mesmerizing play of colors. To truly bring out the brilliance and shine of an opal, it needs to be polished to perfection. In this expert's guide, we will explore the art of polishing opals using diamond resin tools.
What are Diamond Resin Tools?
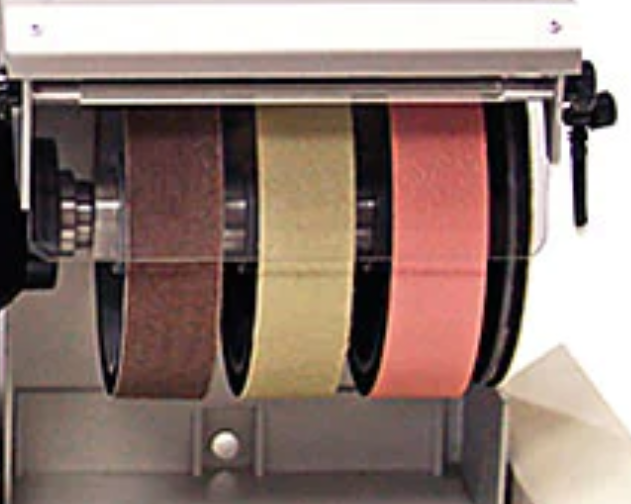
Diamond resin tools are specialized tools used in the lapidary industry for polishing gemstones, including opals. These tools consist of a metal disc or wheel with a layer of diamond-impregnated resin on the surface. The diamond particles embedded in the resin provide the necessary abrasiveness to polish the opal.
Why Use Diamond Resin Tools for Polishing Opals?
Opals are delicate gemstones that require gentle polishing to avoid damage. Diamond resin tools are ideal for opal polishing because they offer a controlled and precise polishing process. The diamond particles in the resin provide a fine abrasive action, allowing for a gradual and even polish without causing any harm to the opal's structure.
The Polishing Process
Before you begin the polishing process, make sure you have the necessary equipment: diamond resin wheels or discs in various grit sizes, a polishing machine, water, and a dop stick to hold the opal securely.
Here's a step-by-step guide to polishing opals with diamond resin tools:
Step 1: Preparing the Opal
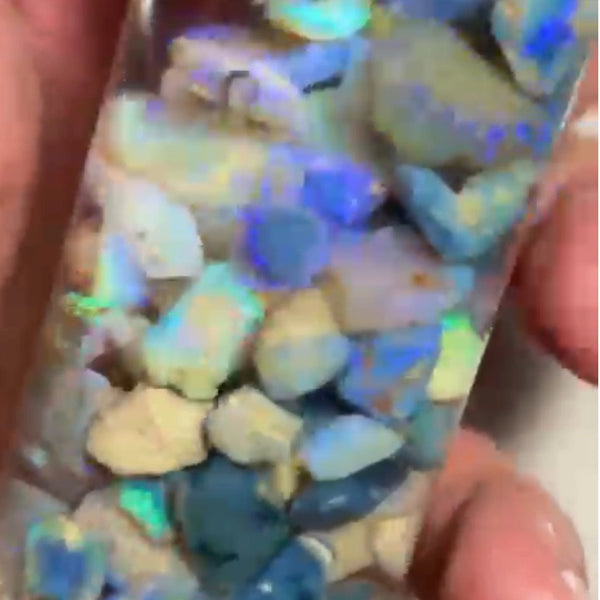
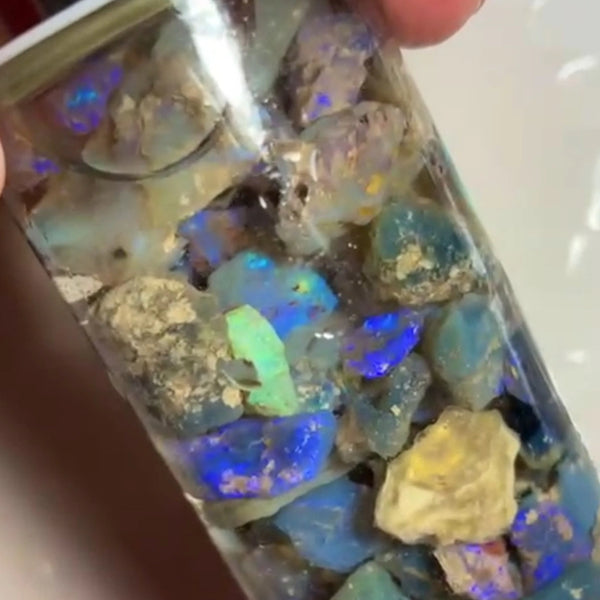
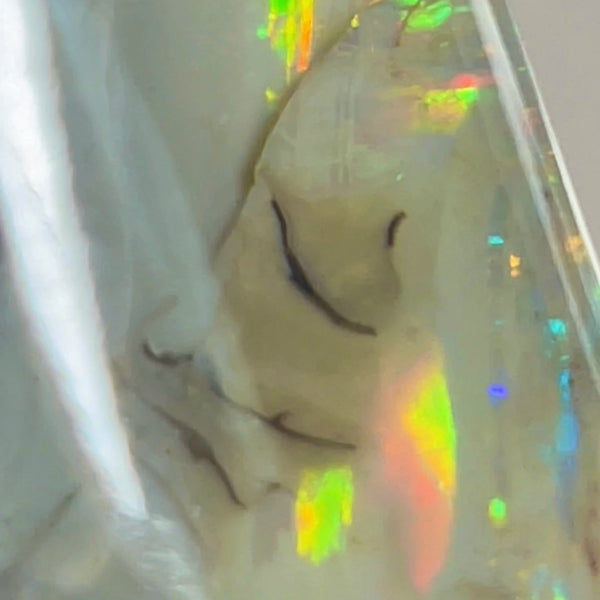
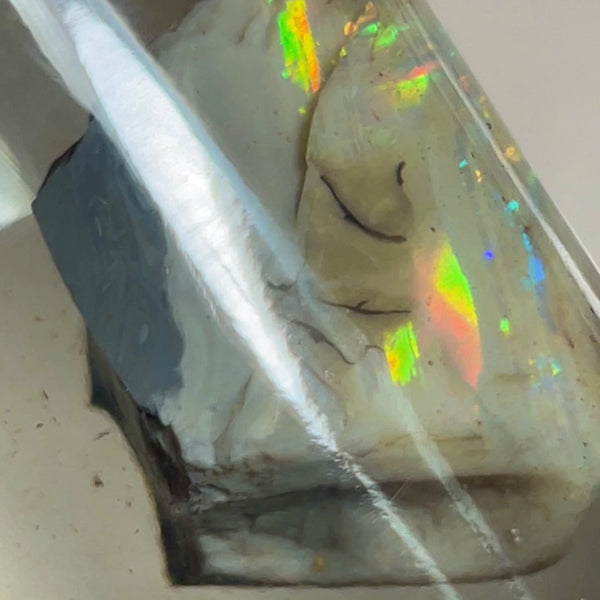
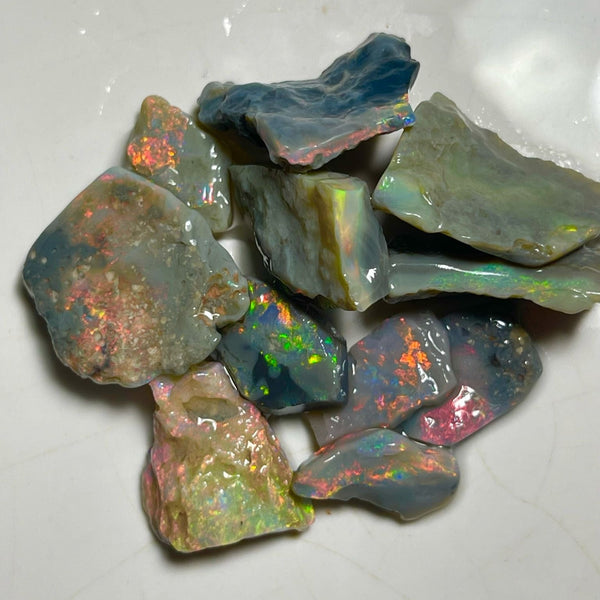
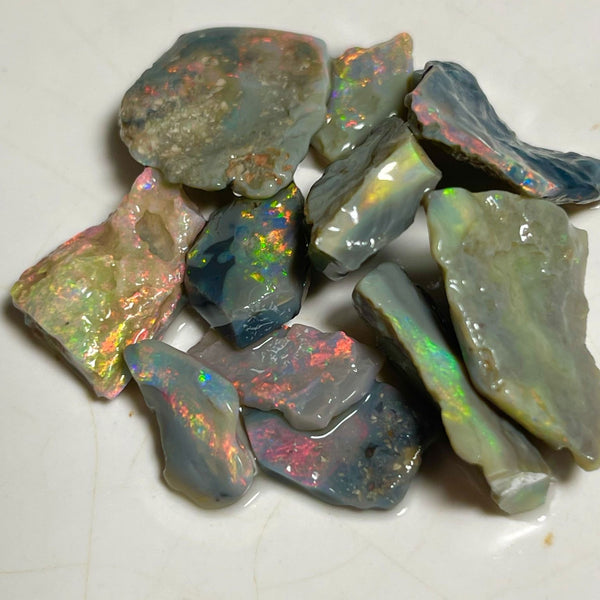
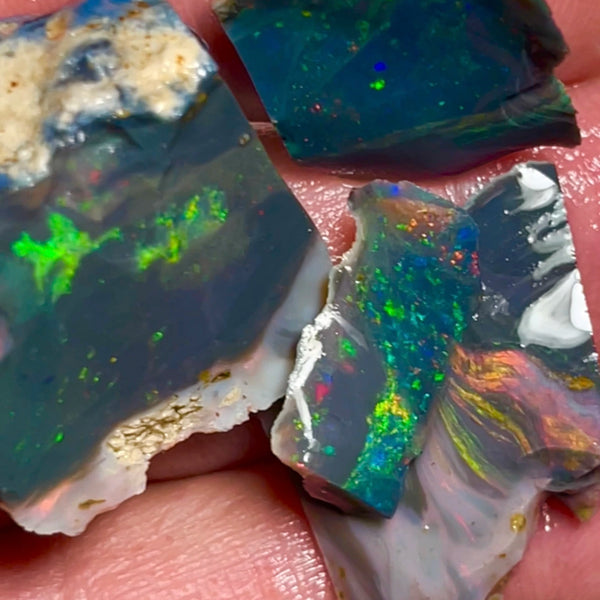
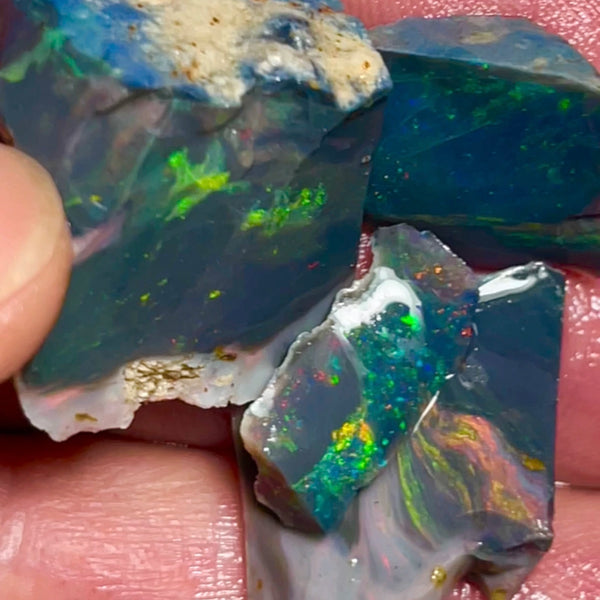
Start by cleaning the opal thoroughly to remove any dirt or debris. Inspect the stone for any cracks or fractures that may affect the polishing process. If necessary, stabilize the opal by filling any cracks with epoxy resin.
Step 2: Rough Polishing
Begin the polishing process with a coarse diamond resin wheel. Apply water to the wheel to create a slurry and gently grind the opal against the wheel. Move the opal in a circular motion to ensure even polishing. Continue this process until you achieve the desired shape and smoothness.
Step 3: Fine Polishing
Switch to a finer grit diamond resin wheel for the next stage of polishing. Repeat the same circular motion, applying water to create a slurry. This step helps refine the surface of the opal and remove any scratches or imperfections left from the rough polishing stage.
Step 4: Final Polishing
For the final polishing stage, use a very fine grit diamond resin wheel. This step is crucial for bringing out the opal's luster and enhancing its play of colors. Again, apply water to create a slurry and polish the opal in a circular motion until it achieves a glossy finish.
Step 5: Cleaning and Finishing
After the polishing process, clean the opal thoroughly to remove any residue or slurry. Use a soft brush and mild detergent to gently clean the stone. Rinse it with water and dry it with a soft cloth. Finally, inspect the opal to ensure it has achieved the desired polish and brilliance.
Polishing opals with diamond resin tools requires patience, precision, and expertise. By following this expert's guide, you can unlock the true beauty of opals and create stunning jewelry pieces that will be cherished for a lifetime.