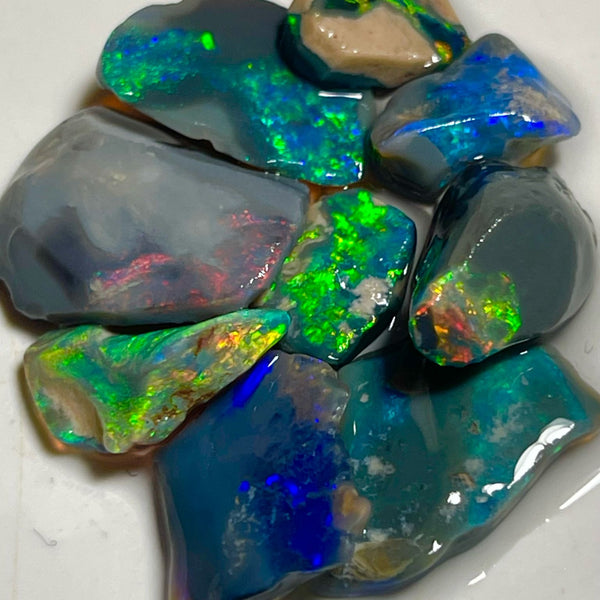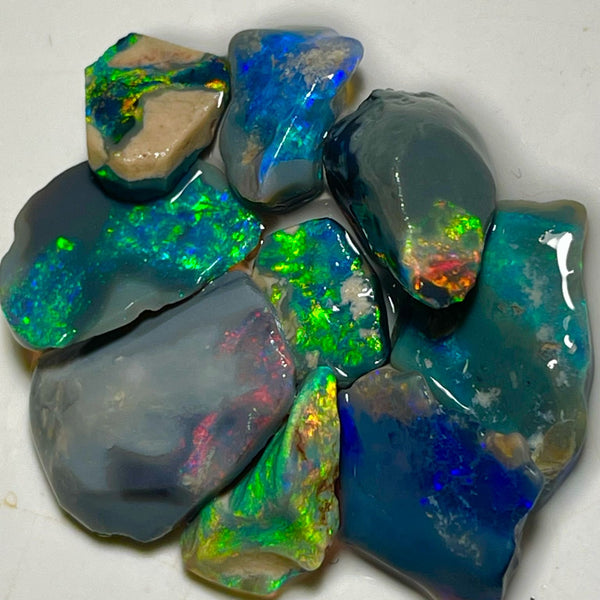
Opals are one of the most beautiful and unique gemstones in the world. Known for their vibrant colors and mesmerizing play of light, opals are a favorite among jewelry enthusiasts. But how are opals cut and shaped to bring out their natural beauty? In this guide, we will take you through the process of cutting opals, step by step.
What tools are needed for cutting opals?
Cutting opals requires specialized tools to ensure precision and accuracy. Here are the essential tools you will need:
- Diamond saw: Used to cut the rough opal into smaller pieces.
- Diamond grinding wheels: Used to shape and smooth the opal.
- Diamond sanding pads: Used for further shaping and polishing.
- Dop sticks: Used to hold the opal during the cutting process.
- Water drip system: Used to cool the opal and prevent overheating.
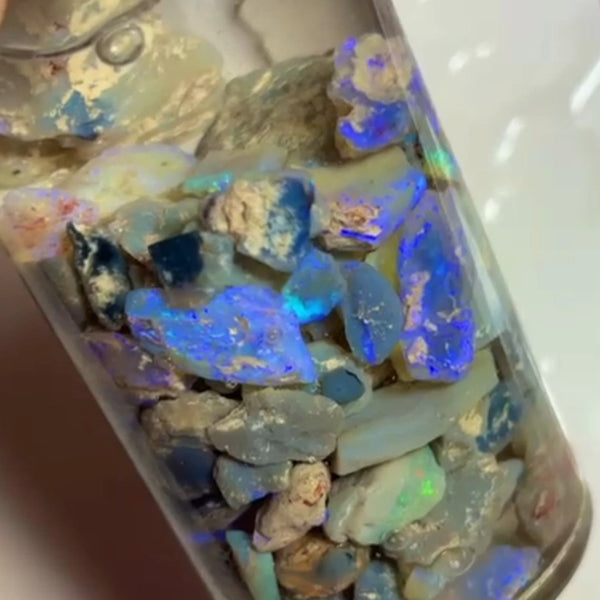
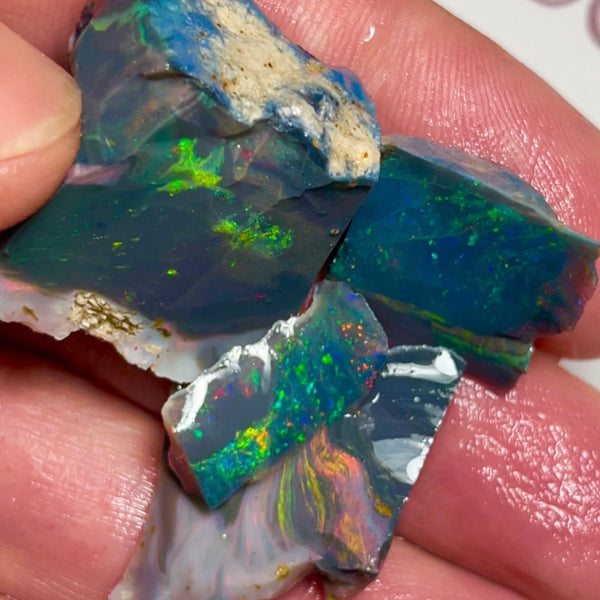
Step 1: Selecting the rough opal
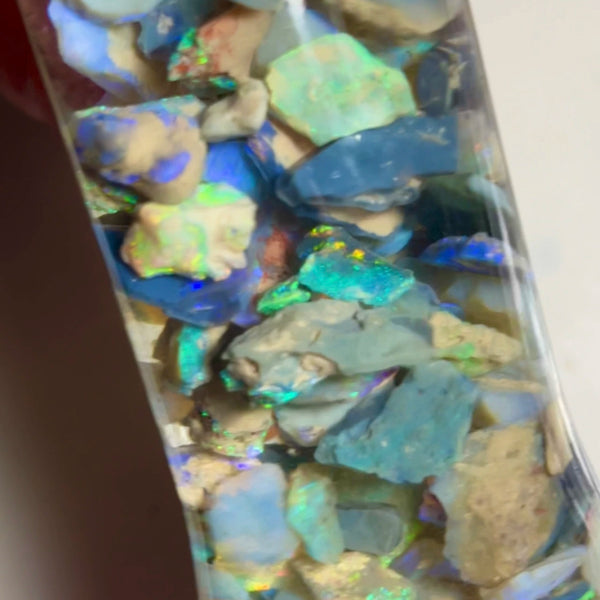
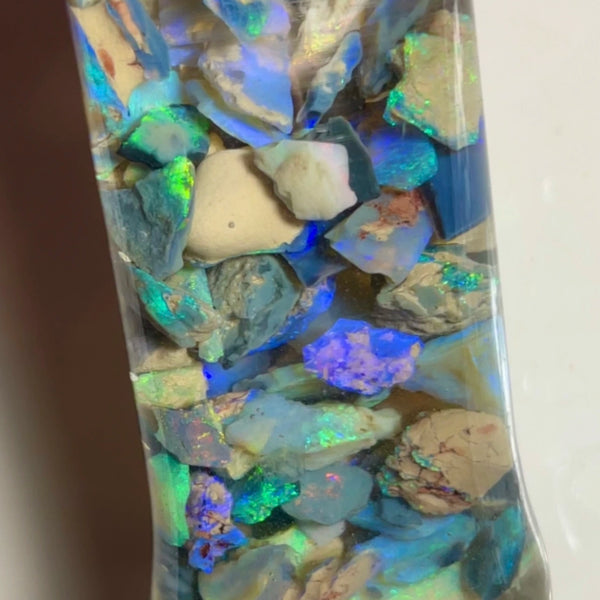
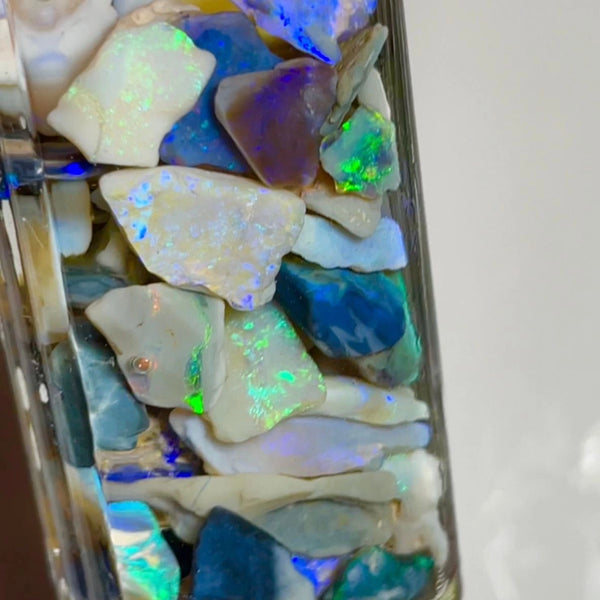
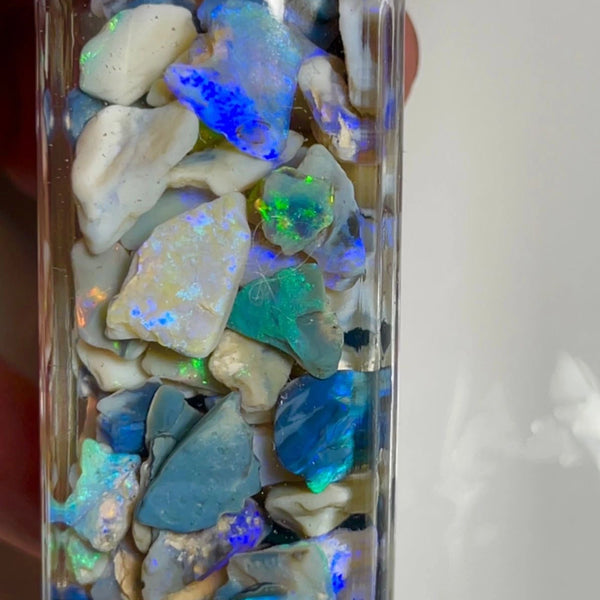
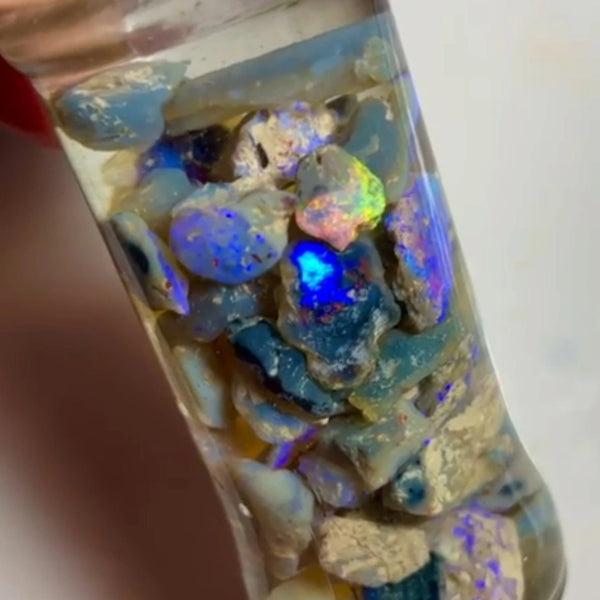
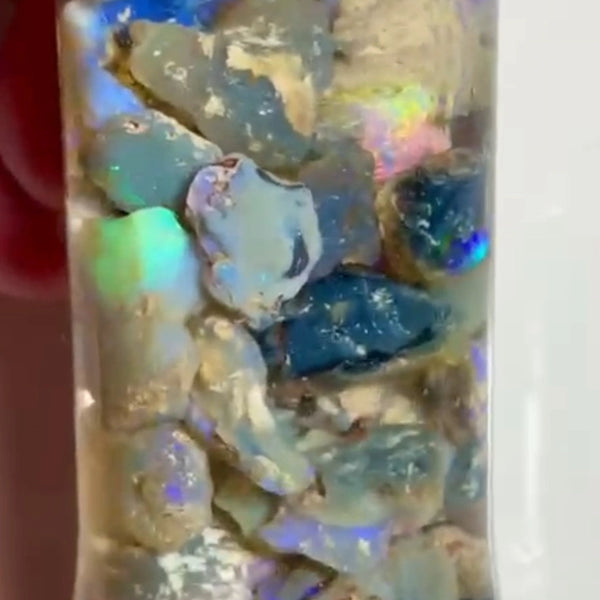
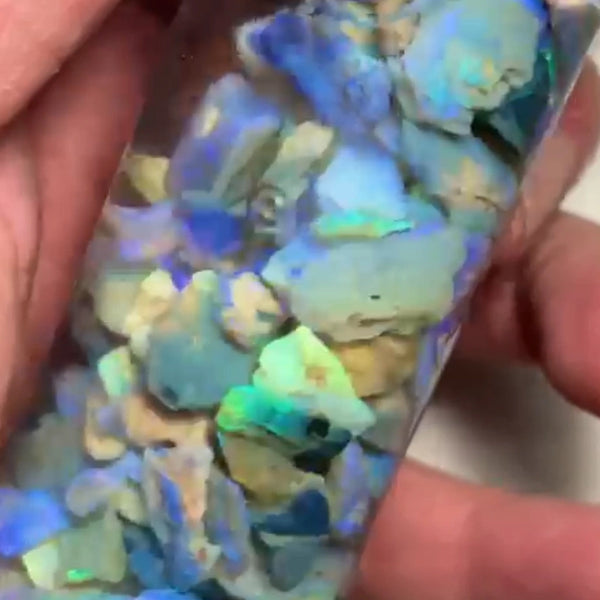
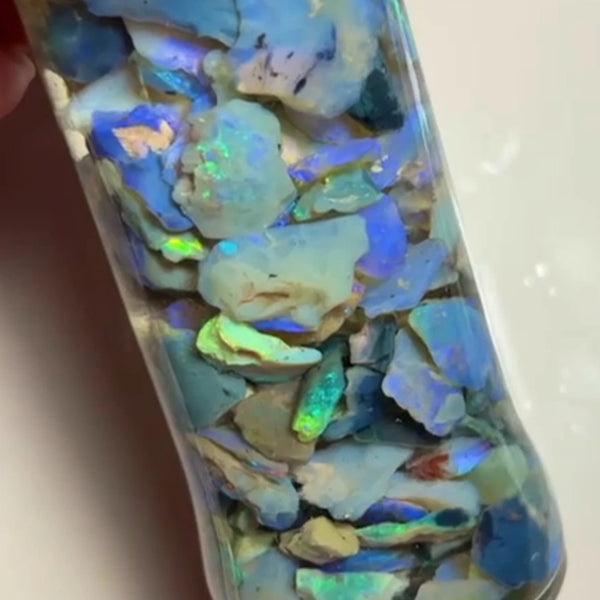
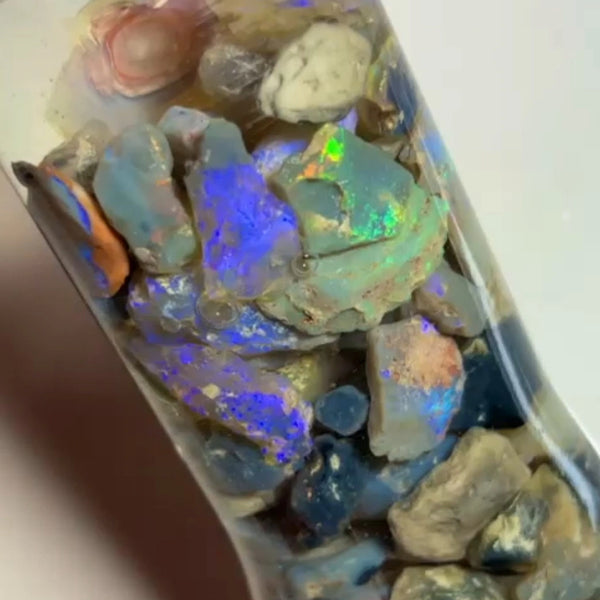
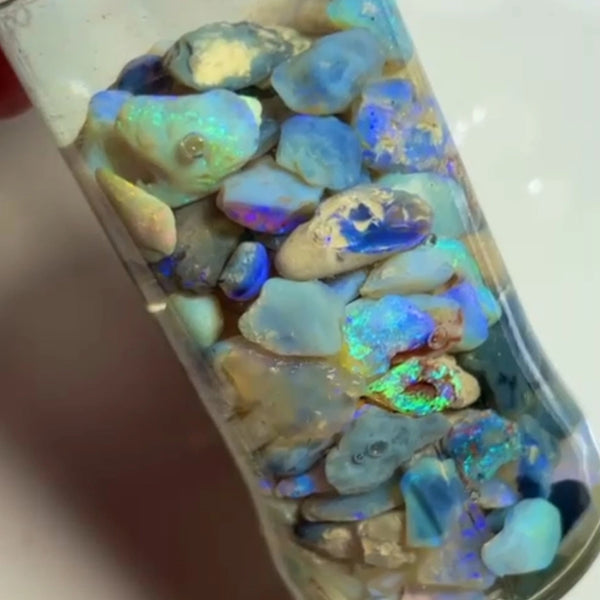
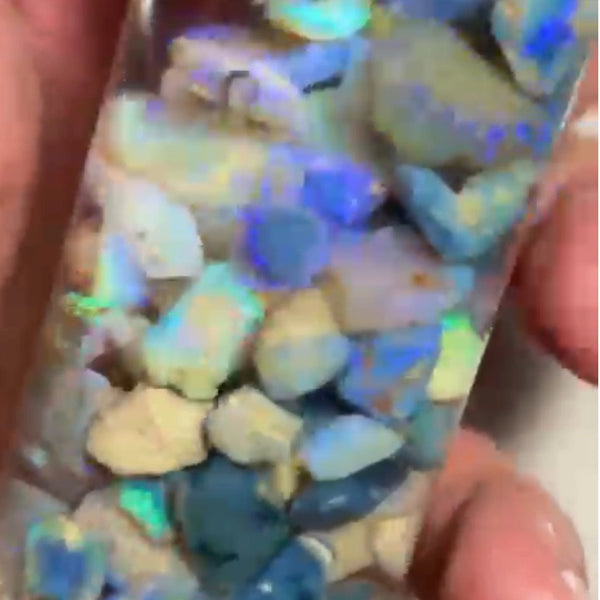
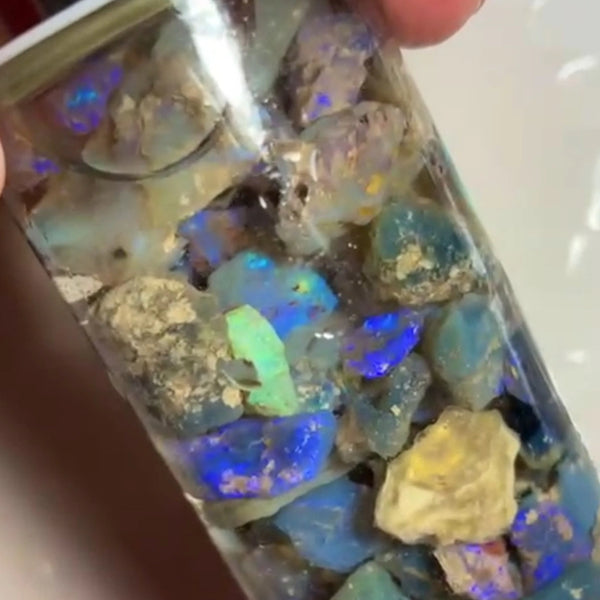
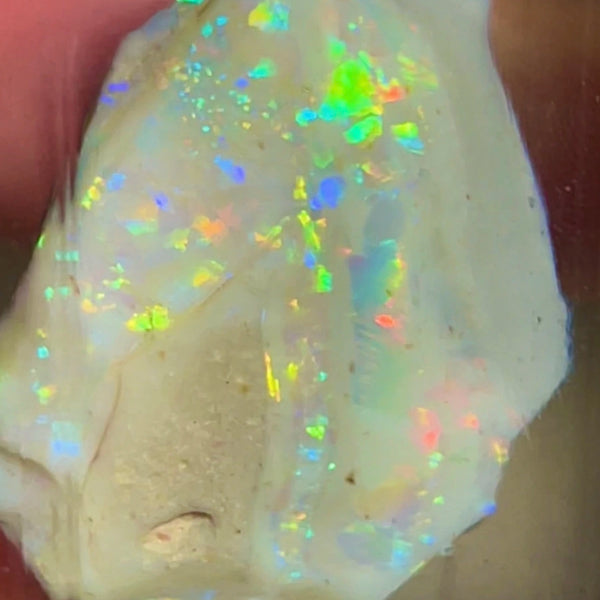
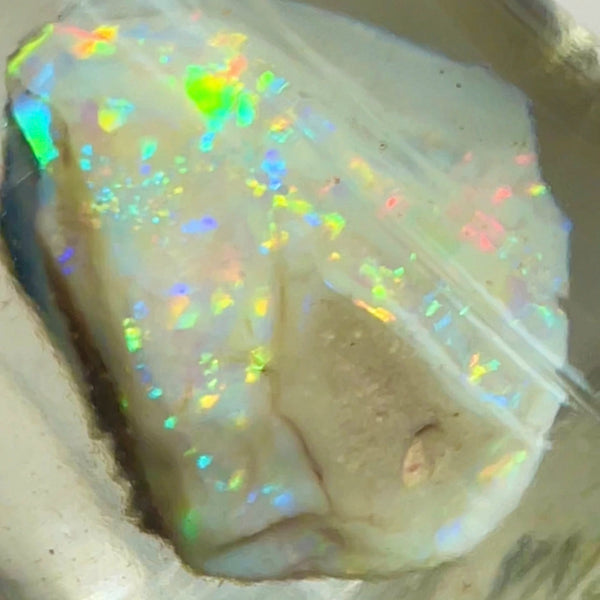
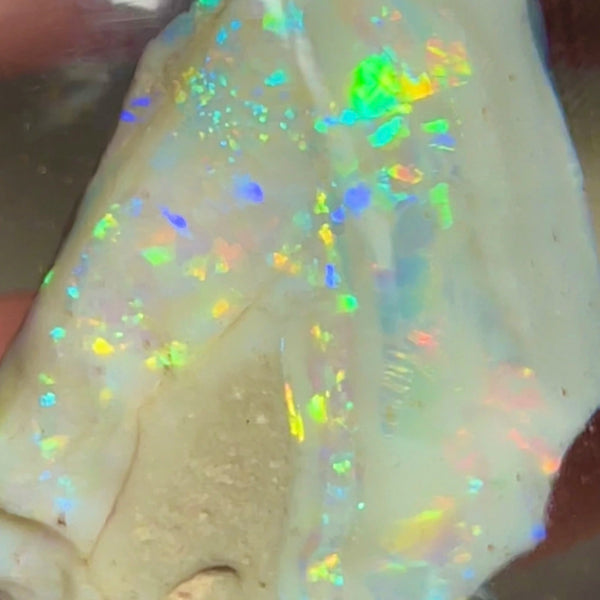
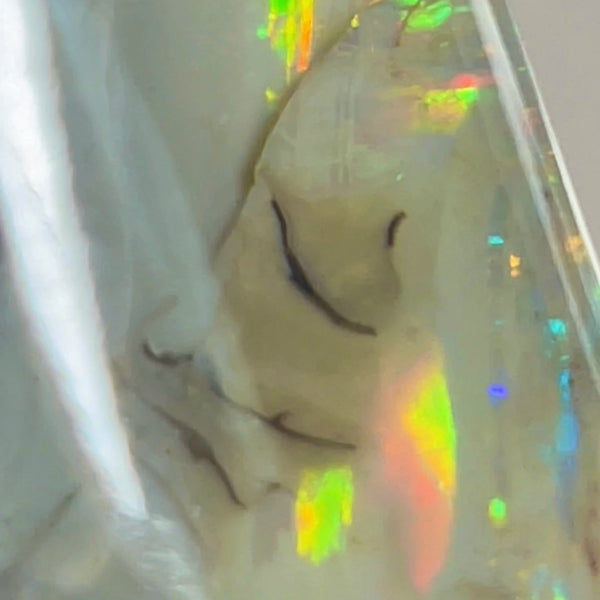
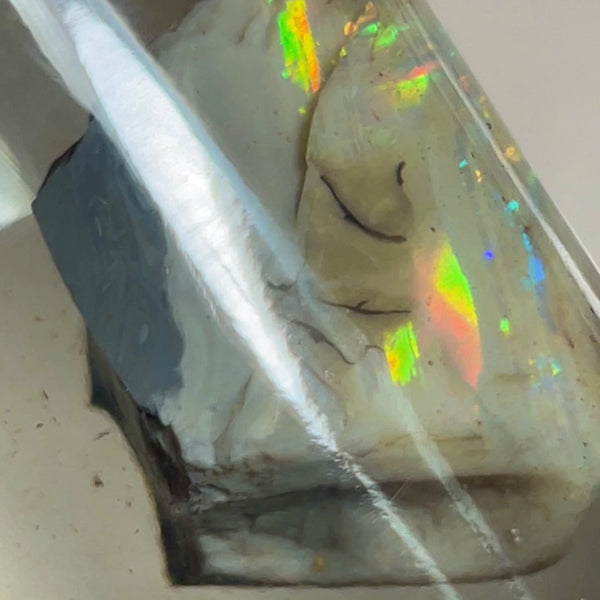
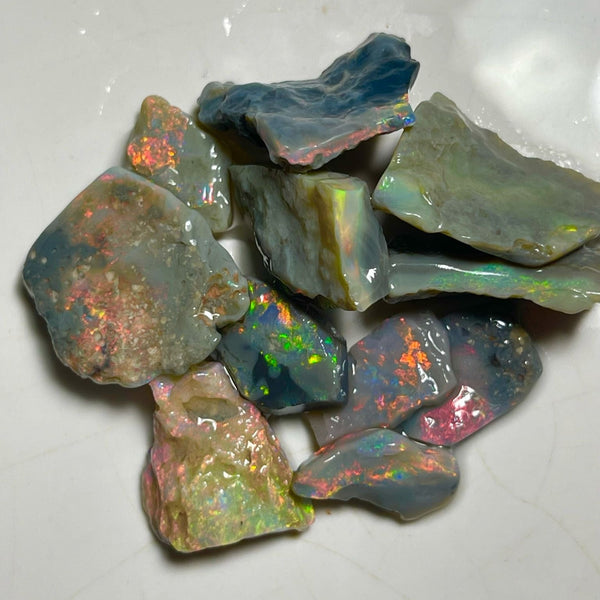
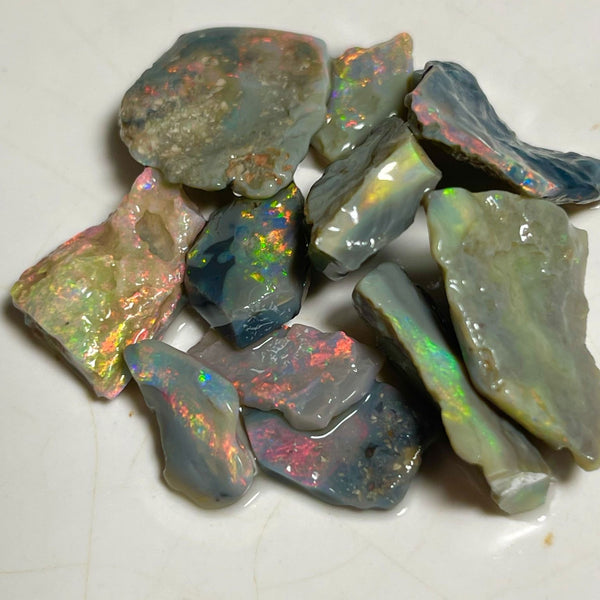
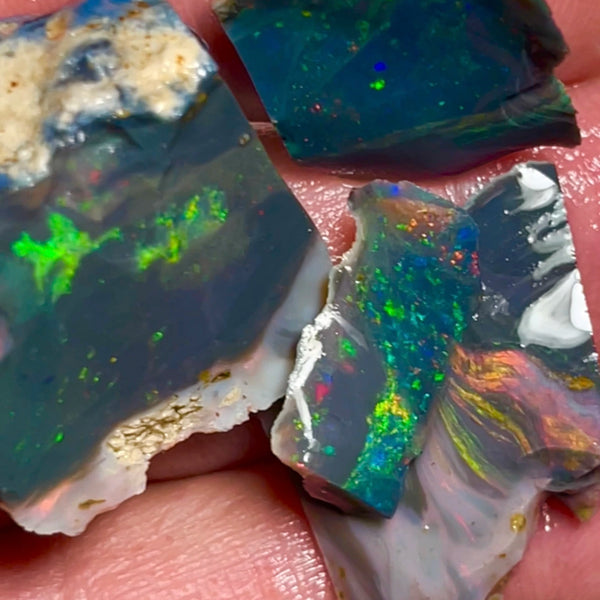
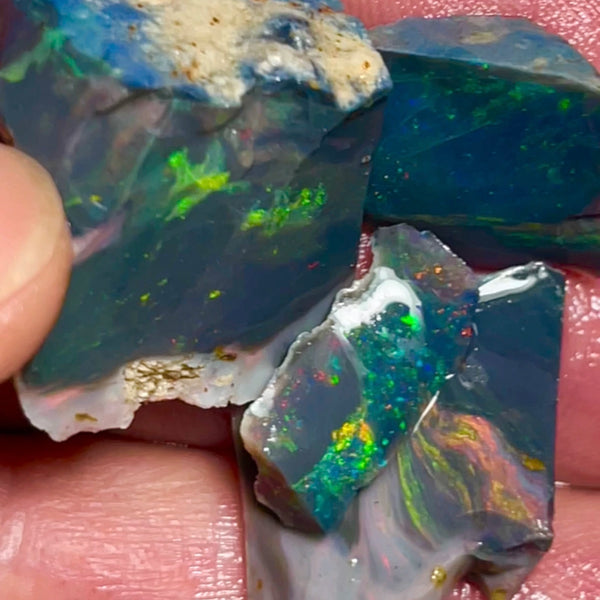
The first step in cutting opals is to select the rough opal that you want to work with. Look for opals with vibrant colors and interesting patterns. It's important to choose a piece that is free from cracks or fractures, as these can affect the stability of the stone during the cutting process.
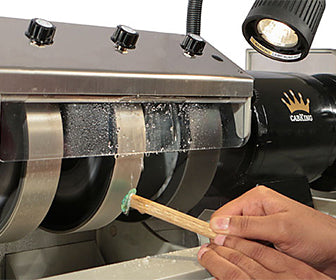
Step 2: Cutting the rough opal
Once you have selected your rough opal, it's time to cut it into smaller pieces using a diamond saw. This step requires precision and care to ensure that the opal is cut in the desired shape and size. It's important to follow the natural lines and patterns of the opal to maximize its beauty.
Step 3: Shaping the opal
After cutting the rough opal, the next step is to shape it using diamond grinding wheels. This process involves carefully grinding away the excess material to create the desired shape and form. It's important to work slowly and patiently to avoid damaging the opal.
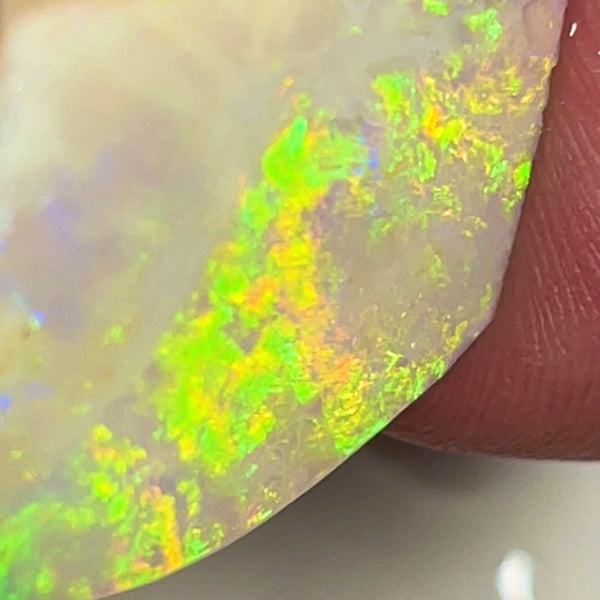
Step 4: Smoothing and polishing the opal
Once the opal is shaped, it's time to smooth and polish the surface using diamond sanding pads. This step helps to remove any scratches or imperfections and brings out the natural shine of the opal. It's important to use a gentle touch and work in small increments to achieve the best results. The final polish is done with Cerium Oxide. Please see Cerium Blog
Step 5: Final touches
After polishing the opal, take a moment to inspect it for any remaining imperfections. If necessary, repeat the shaping and polishing process until you are satisfied with the final result. Once the opal is perfect, it can be set into a piece of jewelry or displayed as a stunning gemstone on its own.
Remember, cutting opals requires skill and practice. It's important to start with smaller, less valuable opals before working on larger and more precious stones. With time and experience, you will become more proficient in the art of cutting opals and create breathtaking pieces of jewelry.